90499 views
owned this note
# QPrompt User Manual

This will become QPrompt's User Manual, but first we need users to help write it.
## Manual Authors
- Javier O. Cordero Pérez
- Liebeg
- Add your name here or above my name if you write more...
## Manual License
Permission is granted to copy, distribute and/or modify this document under the terms of the GNU Free Documentation License, Version 1.3 or any later version published by the Free Software Foundation; with no Invariant Sections, no Front-Cover Texts, and no Back-Cover Texts. A copy of the license is included in the section entitled "GNU Free Documentation License".
## Notes for Manual Authors
- Add new sections as you deem useful.
- Keep sections compact thinking somebody may want to translate this document and we don't want to give them any more work than necessary.
- You can use Imaginary Teleprompter's user manual as a reference:
- https://imaginary.tech/wp-content/uploads/sites/4/2019/03/Imaginary-Teleprompter-v2.3.3-Documentation-rev.265.pdf
- https://imaginary.tech/wp-content/uploads/sites/4/2019/03/Imaginary-Teleprompter-Documentation-latest.odt
When adding images to the manual, please have the following considerations in mind:
- Development versions of QPrompt may look different from the most current stable version. In order to prevent the contents of this manual from becoming outdated too quickly, screenshots should be taken from development builds instead of stable releases.
- Before opening the software and taking screenshots, scale your computer's display to 200% or more. Doing this will make everything bigger enabling you to capture images with greater detail.
- It's preferable to have smaller sized images that make good use of space over large images with too much blank space.
- Upload screenshots in PNG format so their original quality is retained. If the original is a JPEG, upload that instead.
## About QPrompt
QPrompt, is teleprompter software for all video creators. It's built with productivity, ease of use, and smooth performance in mind.
It runs on various systems, including Linux, macOS, Windows, Haiku OS, and Android. QPrompt is professional grade teleprompter software that gets out of your way.
You can download QPrompt free of charge at: https://qprompt.app
## About Free Software
Free software, as defined by the Free Software Foundation implies we, the software developers, give you, the user, the right to use, modify, and share the software.
These rights are provided by means of the General Public License v3.0. This license requires modifications in distributed copies to be publicly disclosed. A copy of the license must be provided when distributing the software. Please refer to the license for further details and requirements. The General Public License can be found at: https://www.gnu.gpl.org/licenses/gpl-3.0.en.html
## Installation
For Raspberry Pi running Bookworm:
1. Go to https://qprompt.app/
2. Select "Choose a different system"
3. Select qprompt-v1.1.6-51788eb-arm64-Linux.deb
4. Open terminal window
5. Navigate to download directory
6. Type in "sudo apt install ./qprompt-v1.1.6-51788eb-arm64-Linux.deb
7. Find the program under "Sound & Video" on the main menu
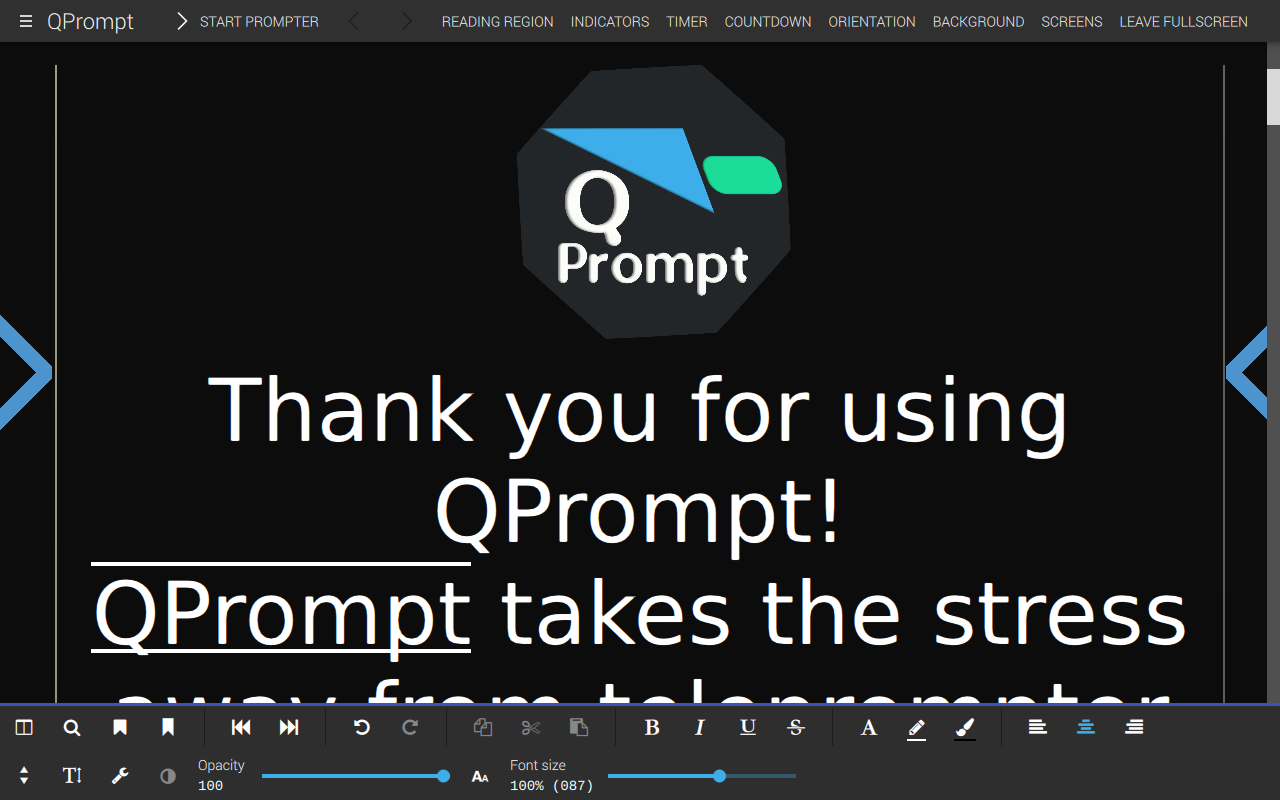
When the program opens, you will see the screen that looks like this:!
## System runtime requirements
| QPrompt Version | Operating System | Requirements |
|------------------|------------------|---------------------------------------|
| **1.2.0 and later** | **Windows** | Windows 10 or later, DirectX 11 or Vulkan capable graphics |
| | **macOS** | Apple Silicon Mac, Metal capable graphics |
| | **Linux** | A distro from 2022 or later, Vulkan capable graphics |
| **1.1.6 and prior** | **Windows** | Windows 7 or later, OpenGL 3.0 capable graphics |
| | **macOS** | Intel Mac, OpenGL 3.0 capable graphics |
| | **Linux** | A distro from 2020 or later, OpenGL 3.0 capable graphics |
## File formats supported by QPrompt
### Editable formats
These formats can be opened and edited in QPrompt. HTML is QPrompt's default file format.
* Hypertext Markup Language (Standard HTML 4.1)
* Plain Text (TXT)
### Read only formats
These formats can be opened in QPrompt, but any changes must be saved using one of the formats from the previous list.
* Markdown (MD)
* OpenDocument Format Text Document (ODT)
* AbiWord Document (ABW)
* Microsoft Word document (DOCX, DOC)
* Apple Pages Document (PAGES)
* Rich Text Format (RTF)
By default, QPrompt can only read HTML, text, and Markdown. You must install a copy of LibreOffice on your computer for QPrompt to be able to read OpenDocument Format, AbiWord, Microsoft Word, Apple Pages, and Rich Text Format.
Due to a limitation in LibreOffice, QPrompt can only open these formats while LibreOffice is not in use.
## Features
### Bottom Row

> [Reminder to myself: give every symbole a number for easier reference.]
Lets go through every button located on the bottom first. Starting from the left.
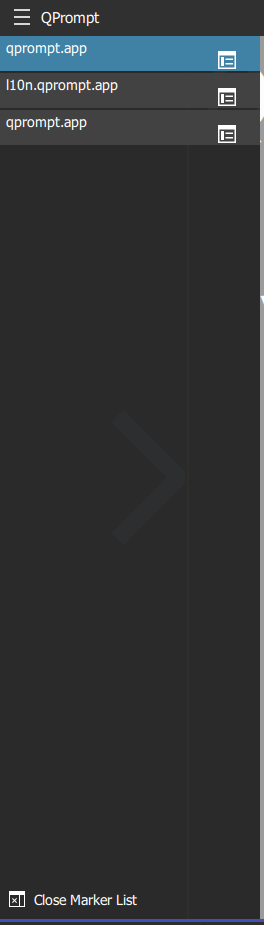
#### 1. Marker List
This opens a list of every Marker set in the currently open document. By clicking on one of the entries you directly jump to that part in the document. It can simply be closed by clicking on the icon again.
#### 2. Search
Pretty much self explanatory, allows you to search for words or sentences in the currently open document. Alternativly it can be opened by pressing Crtg + F. Keep in mind that when prompting is activated the search option will be greyed out.
#### 3. Set Marker
This allows you to mark parts of the text. If the coursor is infront of a word the entire word is marked, but it is also possible to just select parts of a word or entire sections.
:::info
Something to keep in mind is that, when nothing is selected this feature won't work. This is also the case when the coursor is at the end of the document.
:::
#### 4. Named Marker
As above this allows you to mark parts of the text, but you can assign a key to it in the pop-up window. While prompting, you can jump to the marker by using this key.
#### 5.
>[Placeholder]
## Configuration
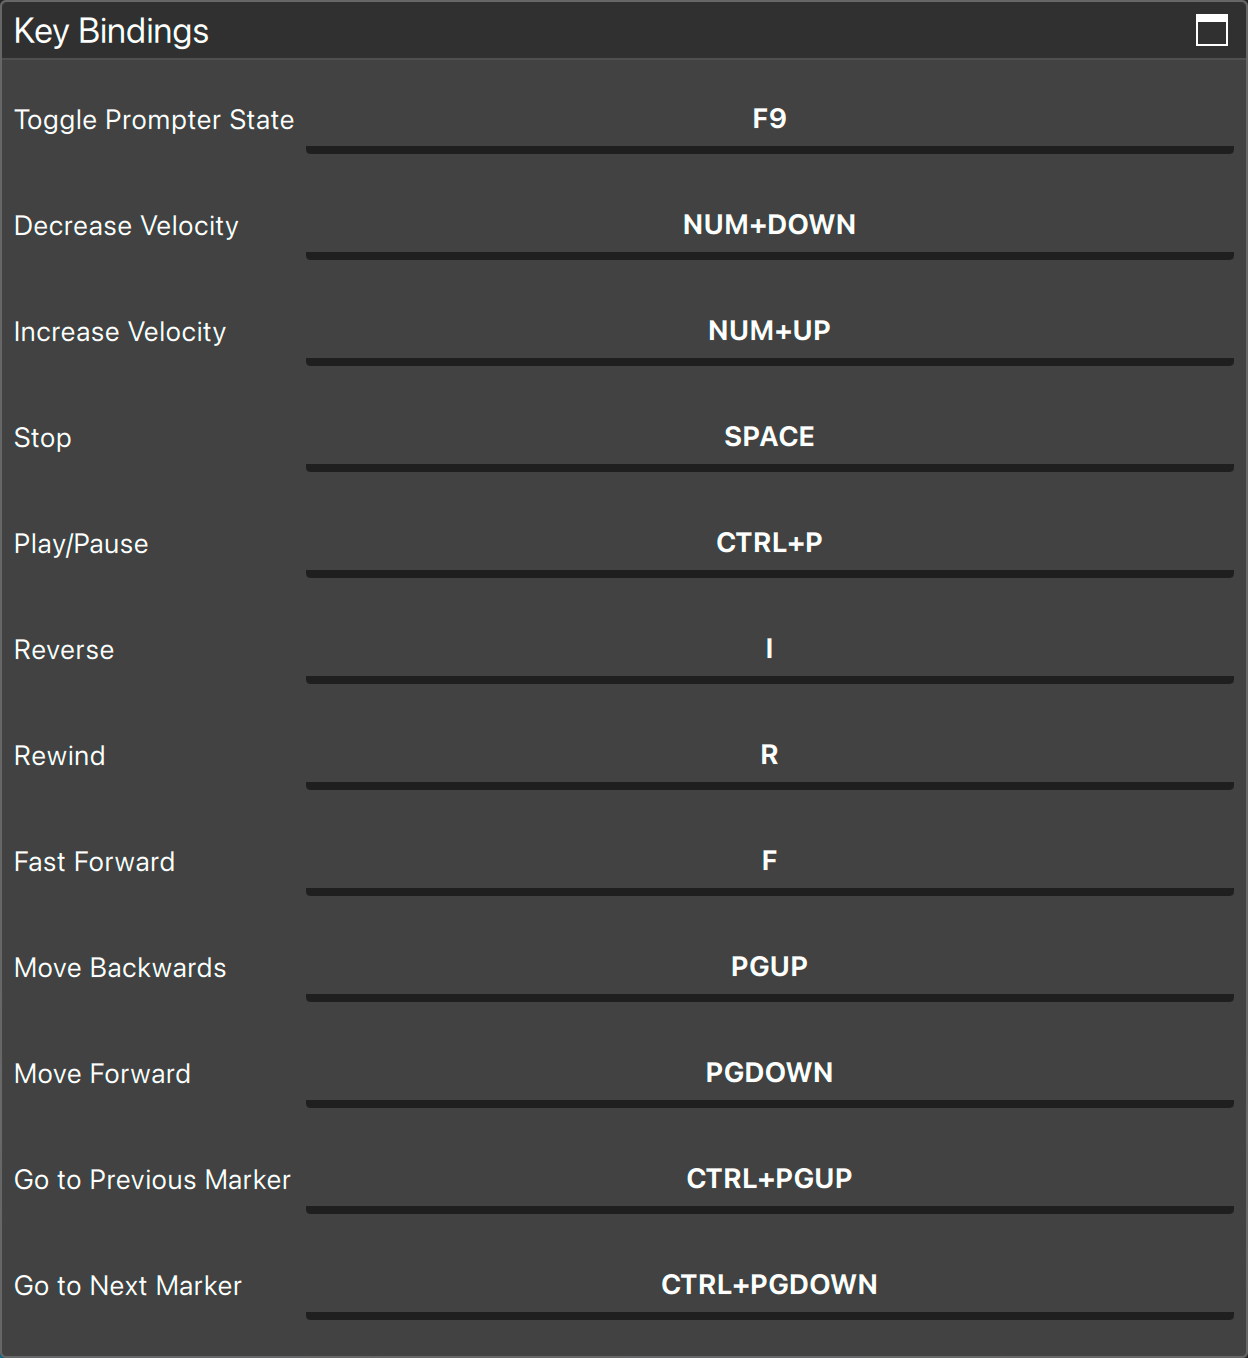
### Keybindings
Change keybindings to set QPrompt's keyboard inputs to your preferences. Do this by going under the Main menu -> Key Bindings -> Keyboard Inputs.
### Background
QPrompt allows you to configure the background behind the prompter. To configure this click on Background from QPrompt's main page. From there you can:
* Set an image
* Set a color
* Clear your changes
#### Set image
Set image will allow you to choose an image of choice as background behind the prompting area. (The image will be saved and loaded the next time QPrompt is being used.)
#### Set color
Similar to image, the only difference being you set a solid color instead of an image. You can choose a color either via the provided color palette or by using an hexcode.
#### Clear
Can only be used if either of the two aformentioned options have been configured. It simply removes the image if one is present and resets the background color back to black. The opacity isn't affected when pressing the clear button option.
#### Combine image and color
If you set both color and image the color will be drawn with transparency on top of the image, resulting in a tinted image.
#### Opacity
The background's opacity can be changed with the slider on the bottom of the screen. When the opacity is set to a value bellow 100%, QPrompt's Background will become semi-transparent, revealing the programs behind the prompter.
Setting opacity to 0 will make the background fully transparent. Unlike competing software, QPrompt's opacity software only affects the background and the text remains solid, making it easier to read than if it also became transparent.
:::warning
Even if the opacity is set to 0 you won't be able to interact with the programs behind QPrompt.
:::
:::info
In some operating systems and graphic card configurations, making the app fullscreen will prevent applications behind QPrompt from showing, revealing a black background instead.
:::
##### Disable background transparency
If you don't intend to ever use the opacity slider, you can remove it and gain a bit of a performance boost, by going to Main menu -> Other Settings -> Disable background transparency.
When you toggle this setting, QPrompt will prompt you to restart the app for the change to take effect. If you don't restart the app the feature will not fully take effect. You won't get any performance bennefits when toggling on this option until QPrompt has been restarted.
This option exists to help you declutter the user interface and to help optimize performance for lower-end devices, such as Raspberry Pi computers.
## Advanced Settings
### Disable overlay contrast
Disable overlay contrast removes a semi transparent white layer that is drawn behind the overlay of semi trnasparent black bars, and in front of QPrompt's text and background.
The reason for this layer is to make it easy for users to switch between light and dark backgrounds without the dark background resulting in readers being unable to tell apart the overlay from the background color.
This layer is enabled by default and should only be disabled as a last measure for improving performance in older low end hardware, such as the Raspberry Pi 3b+. If “Disable overlay contrast” is turned, on you will sacrifice quality of life features in exchange for getting a tiny boost in performance.
## Accesiblity
## Troubleshooting
### QPrompt doesn't start anymore
We are aware about that bug but currently are not able to reproduce it. If you are using Windows we found success in

# Test
| test 1 | other test | |
| ------- | ---------- | ---- |
| and now | | |
| Text | Text | Text |